How to Enable Video Autoplay on Webflow?

Before jumping into the how's let's see the why a bit? So why would you want to enable the autoplay feature on Webflow? Firstly it gives a dynamic experience and secondly having your video play automatically the moment someone lands on your page means you grab their attention quickly and immediately.
Now, how do you enable the autoplay feature on Webflow?
Using Webflow’s Native Player
The first obvious way to enable autoplay is using Webflow’s native player.
Steps to enable Autoplay on Webflow
If you have a short video and you don't want any custom control, you can host the video and enable the autoplay feature on Webflow. Enabling autoplay on Webflow is extremely easy. Let’s look at the steps.
Steps
- Upload your video directly into your designated Webflow page
- Add the Video element to your page
- Enable the Autoplay option in the settings
- You can enable Loop and Mute for better autoplay performance (Optional)
Limitation of Webflow’s Native Player
The problem with Webflow’s native player is that you can’t upload larger file size plus there’s no way to customize the player. There are chances that when you are building a client site, portfolio, a product page you would want more control and would want something more than the autoplay feature. You would want the player to actually match the design. You would definitely not want a default button, random UI or a player that feels clunky or came straight from the 90s.
Using Custom Video Player like Sato
If you want more control over your player, a custom video player is a must. And that’s where Sato comes in. With something like Sato, autoplay is just the starting point. You get to control how the player looks, how it behaves. There are no delays and disruptions and your video player plays smoothly on Webflow.
Steps to Enable Autoplay on Webflow with Sato
If you are looking for something beyond the autoplay feature, a custom player like Sato might be just the right solution for you. You can directly download the app from Webflow’s marketplace and enable the autoplay feature.
Steps
- Go to your Webflow page
- Go to the app section
- Launch the Sato app on Webflow
- Create your Sato account
- Upload your video
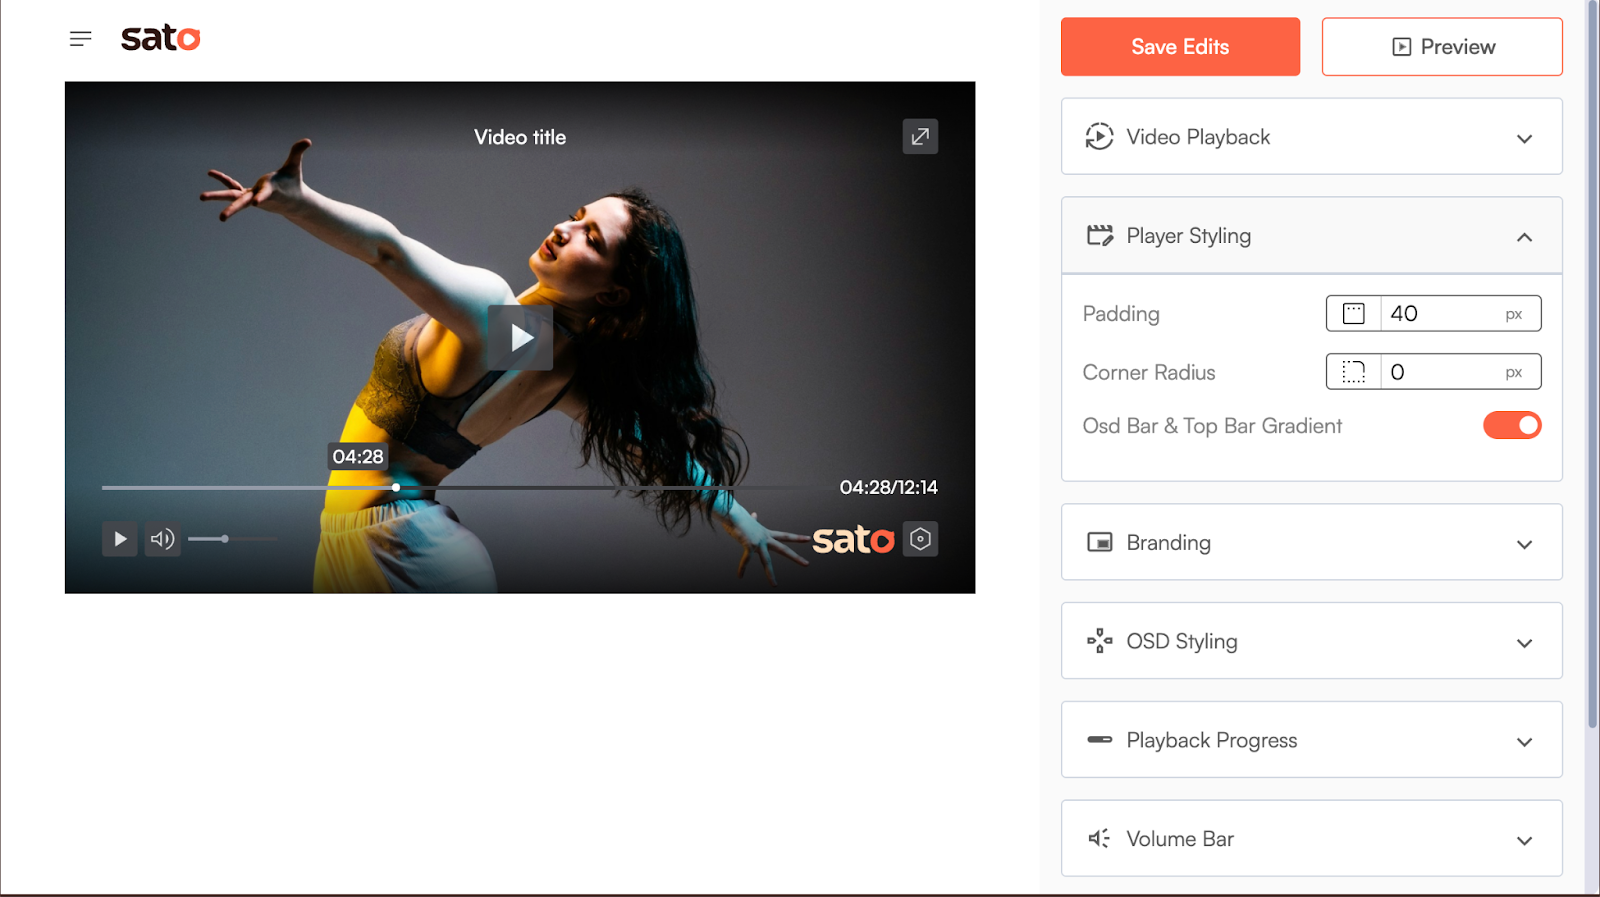
- Enable the autoplay feature from the video playback section of the Sato app
- Style your player by choosing from over more than 50+ customization options
- Embed the player on the Webflow page
If the video is secondary, the native player of Webflow might be enough for you and if the video is the experience, control starts to matter. That’s where a custom video player like Sato fits in. With Sato, you can customize, brand and create a player instantly.
Currently, Sato is offering a free plus paid version . You can choose the plan that best fits your requirement.
Sign up and explore what’s possible beyond video autoplay feature with Sato.